Easy Zippered Pillowcase Sewing Guide

Eric Christie
Owner - Pillows and BedsheetsEric Christie stands as a luminary in the bedding industry, with a career spanning nearly four decades since the early 1980s. His journey through the world of bedding has seen him wear many hats – a manufacturer, designer, and retailer, showcasing his versatility and expertise in Read more...
pillowsandbedsheets.com and its partners may earn a commission if you purchase a product through one of our links
Sewing a pillowcase with a zipper may seem intimidating, but it’s actually easier than you think. By following this step-by-step guide, you’ll be able to create your own zippered pillowcase in no time. Say goodbye to bulky seams and hello to a polished and professional-looking pillow cover!
Key Takeaways:
- Easily sew a pillowcase with a zipper using this simple guide.
- Say goodbye to bulky seams and hello to a polished look.
- Zippered pillowcases offer advantages in shape retention and easy cleaning.
- With the right technique, sewing a zipper into a pillowcase is straightforward.
- Enjoy the convenience and style of zippered pillowcases in your home decor.
Why Choose a Zippered Pillowcase?
When it comes to pillowcase closures, sewing a zipper into your pillowcase offers several advantages over other methods. Not only do zippered pillowcases hold their shape better, but they also allow for easy removal and cleaning. With a zipper closure, you can ensure that your pillow insert stays securely in place, preventing it from slipping out or becoming lumpy. And the best part is, sewing a zipper into a pillowcase is a straightforward process that any beginner can master.
“Zippered pillowcases hold their shape better and allow for easy removal and cleaning.”
Unlike envelope closures or buttoned pillowcases, zippered pillowcases provide a secure closure that keeps your pillow looking neat and tidy. This is especially important for decorative pillows that are not meant to be washed frequently. By choosing a zippered pillowcase, you’ll be able to effortlessly remove the cover and toss it in the washing machine, keeping it fresh and clean.
Moreover, sewing a zipper into a pillowcase enhances its aesthetic appeal, giving it a polished and professional look. This is particularly beneficial if you’re making pillowcases to match your home decor or as stylish gifts for friends and family.
With the right technique and a few simple steps, you can easily sew a zipper into a pillowcase without any hassle or frustration. Plus, by learning this versatile sewing skill, you’ll open up a world of possibilities for creating customized pillowcases that reflect your unique style and taste.
So, if you’re looking for a practical and stylish way to secure your pillow inserts, consider sewing a zipper into your pillowcase. It’s a simple yet effective method that will elevate your pillow game and make your sewing projects stand out.
Materials Needed
To sew a pillowcase with a zipper, you’ll need a few essential materials. These include:
- Fabric: Choose durable home decor fabric for your pillowcase. This will ensure that it can withstand regular use and washing.
- Pillow insert: Select a pillow insert that fits the desired size of your pillowcase.
- Zipper: Get a zipper that is about 3-4 inches shorter than the bottom edge of your pillowcase. This will allow for easy insertion and removal of the pillow.
- Sewing machine: A standard sewing machine will work for this project. Make sure it is in good working condition.
- Zipper foot: Use a zipper foot attachment for your sewing machine. This will make it easier to sew close to the zipper teeth.
- Coordinating thread: Choose a thread color that matches or complements your fabric.
- Pins: Use pins to hold the fabric pieces and zipper in place while sewing.
- Scissors: Have a pair of sharp fabric scissors for cutting the fabric and trimming threads.
- Iron: Iron your fabric before sewing to remove any wrinkles and create crisp seams.
Optional tools that can make the process easier include a self-healing cutting mat and a rotary cutter for precise cuts.
Materials Needed
| Materials | Description |
|---|---|
| Fabric | Durable home decor fabric |
| Pillow insert | Choose the desired size |
| Zipper | About 3-4 inches shorter than the bottom edge of the pillowcase |
| Sewing machine | Standard sewing machine |
| Zipper foot | Attachment for sewing machine |
| Coordinating thread | Match or complement fabric color |
| Pins | Hold fabric and zipper in place |
| Scissors | Sharp fabric scissors |
| Iron | For ironing fabric before sewing |
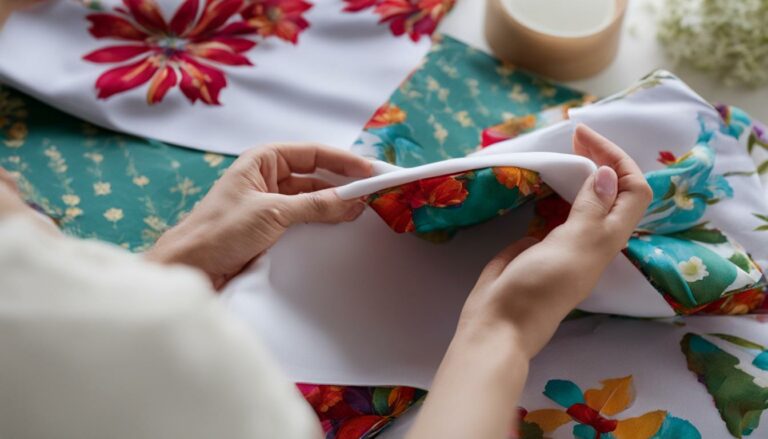
Cutting the Fabric
Before you start sewing your decorative pillowcase with a zipper, you’ll need to cut the fabric pieces for the front and back of the pillowcase. Following the easy zipper pillowcase sewing tutorial, these fabric pieces should match the size of your pillow insert to ensure a perfect fit.
For precise cuts and clean edges, you can use a rotary cutter and a cutting mat. This combination will allow you to easily glide the cutter along the fabric, giving you smooth and straight lines. However, if you don’t have these tools, don’t worry! A pair of good quality fabric scissors will also do the job.
Before cutting, make sure to pay attention to the fabric patterns or stripes. Proper alignment will ensure that the design flows smoothly across the front and back of the pillowcase. Double-check the placement and orientation of the fabric before making any cuts to avoid any unwanted surprises.
| Tools | Materials |
|---|---|
|
|
Now that you have the fabric pieces cut and ready, you’re one step closer to creating a beautiful and functional zippered pillowcase! Let’s move on to the next section and learn how to place and mark the zipper.
Placing and Marking the Zipper
Now that you have your fabric prepared, it’s time to place and mark the zipper for your pillowcase. This step is crucial for ensuring a seamless installation of the zipper. Follow these simple instructions to get started:
- Lay your pillow zipper along the bottom edge of the fabric. Position it so that the zipper teeth are facing down, touching the fabric.
- Mark where the zipper starts and stops using pins. This will help you create an opening for the zipper later on. Be sure to place the pins on both sides of the zipper, indicating its full length.
By taking the time to properly align and mark the zipper, you’ll ensure that it’s placed accurately and symmetrically on your pillowcase. This attention to detail will result in a professional-looking finish.
Visual Reference:

Sewing the Zipper
Now it’s time to sew the zipper into your pillowcase. Follow these step-by-step instructions to ensure a smooth and professional-looking installation.
- Iron open the seam you previously sewed: Before starting the zipper installation, use an iron to press open the seam that you sewed earlier. This will make it easier to attach the zipper smoothly.
- Place the zipper face-down: Take your zipper and place it face-down onto the seam, aligning the zipper teeth with the edge of the fabric. Make sure the zipper pull is facing towards the inside of the pillowcase.
- Pin the zipper in place: Use pins to secure the zipper to the fabric, making sure it stays aligned with the seam. This will prevent any shifting or misalignment during sewing.
- Attach the zipper foot: Switch your sewing machine’s standard foot to a zipper foot. The zipper foot is specifically designed to sew close to the zipper teeth, allowing for a neat and secure stitch.
- Sew the zipper: Begin sewing the zipper in place, starting at one end and stitching as close to the zipper teeth as possible. Go slowly and remove the pins as you sew, being careful not to sew over them. Stitch until you reach the other end of the zipper.
- Repeat for the other side: Once you have sewn one side of the zipper, repeat the process for the other side. Make sure to align the zipper teeth with the fabric edge and sew close to the teeth as before.
By following these steps, you’ll successfully sew the zipper into your pillowcase, creating a secure and durable closure.

Expert Tip
If you’re new to sewing zippers, practice on scrap fabric or an old pillowcase first. It will help you get familiar with the technique and build your confidence before tackling the final project.
| Step | Description |
|---|---|
| 1 | Iron open the seam you previously sewed |
| 2 | Place the zipper face-down onto the seam |
| 3 | Pin the zipper in place |
| 4 | Attach the zipper foot to your sewing machine |
| 5 | Sew the zipper, stitching close to the teeth |
| 6 | Repeat for the other side of the zipper |
Sewing the Remaining Sides
Now that you have successfully sewn the zipper into place, it’s time to sew the remaining sides of the pillowcase. This step will bring your decorative pillowcase with a zipper closer to completion. Let’s get started!
First, unzip the zipper halfway. This will make it easier to turn the pillowcase right side out later on. Next, line up the remaining edges of the fabric, ensuring that the zipper is fully unzipped. Pin the fabric together along the edges to hold it in place while sewing.
Now, using a regular foot on your sewing machine, sew the remaining sides of the pillowcase using a ½ inch seam allowance. Start sewing from the top of the fabric, making your way down along the sides. Remember to backstitch at the beginning and end of each seam for added durability.
When you reach the corners, cut diagonally across them to remove excess fabric and create neat corners. This will give your pillowcase a professional finish and make it easier to insert the pillow form later on.
Once you have finished sewing, trim off any excess fabric to clean up the edges. Take care not to cut too close to the seam to avoid unraveling.
And there you have it! You have successfully sewn the remaining sides of the pillowcase with a zipper. Your decorative pillowcase is now one step closer to being complete and ready to adorn your home with style.
Finishing Touches – Serging the Edges
To prevent fraying and give the pillowcase a finished look, it’s important to serge the edges of the fabric. Serging not only adds durability but also gives a professional touch to your zippered pillowcase. If you don’t have a serger, don’t worry – there’s an alternative method using a zig-zag stitch on your sewing machine.
Method 1: Serging
If you have a serger, follow these steps to serge the edges:
- Set up your serger according to the manufacturer’s instructions.
- Trim any excess fabric to ensure even edges.
- Place the fabric under the serger foot, aligning the raw edge with the blade for a clean serge.
- Slowly and carefully guide the fabric through the machine, letting the serger’s knife trim the raw edge as you go.
- Continue serging along all the edges of the pillowcase, making sure to backstitch at the beginning and end to secure the stitches.
Method 2: Zig-Zag Stitch
If you don’t have a serger, you can achieve a similar result using a zig-zag stitch on your sewing machine:
- Set your sewing machine to a medium-width zig-zag stitch.
- Trim any excess fabric to ensure even edges.
- Align the raw edge of the fabric with the edge of the presser foot.
- Start sewing, moving the fabric back and forth slightly to create a zig-zag pattern that encloses the raw edge.
- Continue zig-zag stitching along all the edges of the pillowcase, making sure to backstitch at the beginning and end to secure the stitches.
By following either of these methods, you’ll ensure that your pillowcase edges are neatly finished, preventing any fraying and giving your pillowcase a professional look and feel.
Now that you’ve serged the edges, your zippered pillowcase is almost complete. Next, you’ll learn how to turn the pillowcase right side out for the final touch.

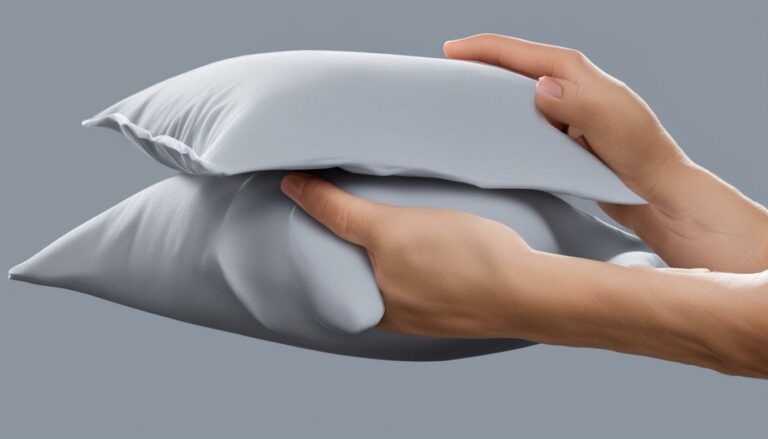
Turning the Pillowcase Right Side Out
Once you’ve finished sewing and serging the edges, it’s time to turn the pillowcase right side out. This step is crucial to ensure that the zipper is on the outside and the fabric looks polished and professional.
Start by carefully pushing one corner of the pillowcase through the opening, gently pulling the fabric until the entire pillowcase is turned right side out. Take your time to avoid any rips or tears in the fabric.
Once the pillowcase is right side out, use your fingers or a blunt object to push out the corners and create crisp edges. This will give your pillowcase a clean and well-defined shape.
Now is the perfect time to admire your handiwork! Take a moment to appreciate the beautiful fabric, smooth edges, and the quality of your sewing skills.
Before completing your pillowcase, it’s important to insert a pillow form or insert. The pillow form should match the dimensions of your pillowcase to ensure a snug and professional fit.
Once the pillow form is inserted, carefully zip up the zipper to close the pillowcase. Ensure that the zipper glides smoothly and securely along the fabric.

With your pillow insert securely in place, your new zippered pillowcase is ready to enhance your home decor. The professional finish and convenience of a zipper closure make these pillowcases a stylish and functional addition to any room.
Next, we’ll recap the steps and provide some additional tips for creating your own beautiful zippered pillowcases.
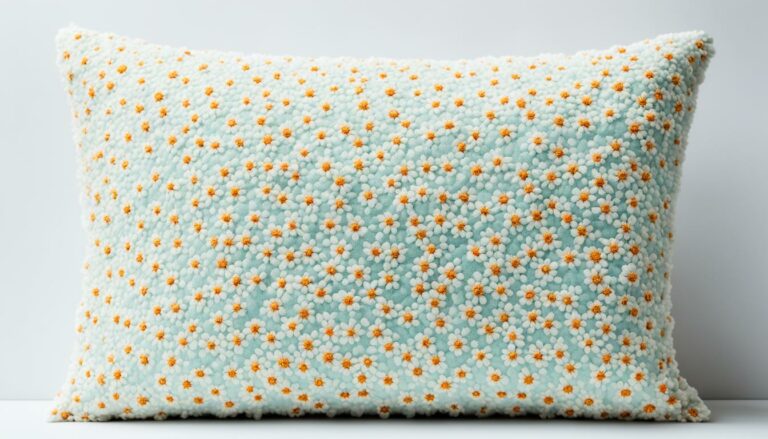
Enjoy Your New Zippered Pillowcase
Congratulations on successfully sewing a pillowcase with a zipper! Now, it’s time to enjoy the convenience and style that zippered pillowcases bring to your home decor. Whether you want to mix and match fabrics or create a coordinated set, your newly sewn pillowcases will add a touch of elegance to your living space.
Don’t be afraid to get creative and experiment with different fabrics and zipper styles to make unique and personalized pillowcases. You can choose vibrant patterns, rich textures, or even add decorative trims for an extra touch of flair. The possibilities are endless!
To keep your zippered pillowcases looking their best, remember to care for them properly. Follow the manufacturer’s instructions for washing and drying, and always close the zipper before tossing them into the machine. This will help maintain the integrity of the fabric and ensure that the zipper stays in good condition.
Now that you have the skills to sew a pillowcase with a zipper, you can confidently tackle more sewing projects for your home. From curtains to duvet covers, the possibilities are endless. Keep exploring and growing your sewing abilities. Happy sewing!
FAQ
Is sewing a pillowcase with a zipper difficult?
No, sewing a pillowcase with a zipper is actually easier than you think. By following this step-by-step guide, even beginners can create their own zippered pillowcases.
What are the advantages of using a zippered pillowcase?
Zippered pillowcases hold their shape better and allow for easy removal and cleaning. They also provide a secure closure to keep your pillow insert in place.
What materials do I need to sew a pillowcase with a zipper?
To sew a pillowcase with a zipper, you will need fabric, a pillow insert, a zipper, a sewing machine, a zipper foot, coordinating thread, pins, scissors, and an iron. Optional tools include a self-healing cutting mat and rotary cutter.
How do I cut the fabric for the pillowcase?
Cut two pieces of fabric for the front and back of the pillowcase. The dimensions of the fabric should match the size of your pillow insert.
How do I place and mark the zipper?
Lay your pillow zipper along the bottom edge of the fabric and mark where the zipper starts and stops using pins. This will create an opening for the zipper later on.
How do I sew the zipper into the pillowcase?
After ironing open the seam, place the zipper face down onto the seam and pin it in place. Sew the zipper in place using a zipper foot, stitching as close to the teeth as possible.
How do I sew the remaining sides of the pillowcase?
With the zipper unzipped halfway, pin the remaining edges of the fabric together and sew with a ½ inch seam allowance. Trim off excess fabric to create neat corners.
How do I finish the edges of the pillowcase?
To prevent fraying and add durability, serge the edges of the fabric. If you don’t have a serger, you can use a zig-zag stitch on your sewing machine.
How do I turn the pillowcase right side out?
After sewing and serging the edges, turn the pillowcase right side out so that the zipper is on the outside. This will give the pillowcase a polished and professional look.
How do I enjoy my new zippered pillowcase?
Insert a pillow form into the cover and enjoy the convenience and style of your newly sewn zippered pillowcase in your home decor.
Eric Christie stands as a luminary in the bedding industry, with a career spanning nearly four decades since the early 1980s. His journey through the world of bedding has seen him wear many hats – a manufacturer, designer, and retailer, showcasing his versatility and expertise in Read more...