Sewing Pillowcase Pattern: Easy DIY Guide

Eric Christie
Owner - Pillows and BedsheetsEric Christie stands as a luminary in the bedding industry, with a career spanning nearly four decades since the early 1980s. His journey through the world of bedding has seen him wear many hats – a manufacturer, designer, and retailer, showcasing his versatility and expertise in Read more...
pillowsandbedsheets.com and its partners may earn a commission if you purchase a product through one of our links
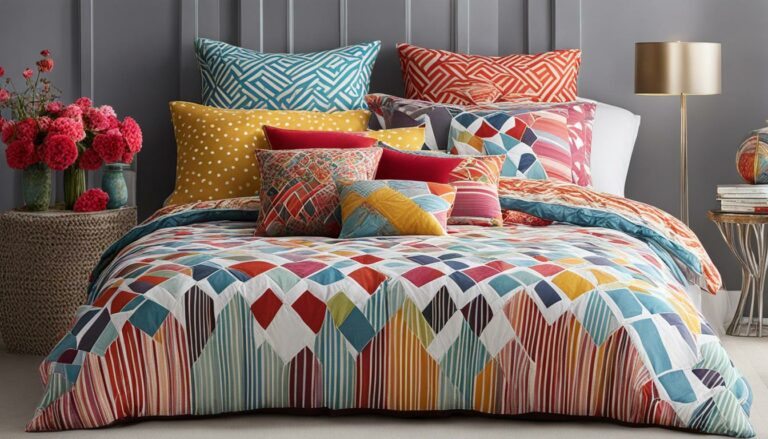
Welcome to our easy DIY guide on sewing a pillowcase! Whether you’re a beginner or an experienced sewer, this tutorial will walk you through the steps to create your own pillowcase using one yard of fabric and no waste. It’s a perfect project for those just starting out and is also great for charity sewing due to its speed and simplicity.
With our super easy pillowcase pattern, you’ll only need 1 yard of fabric – no more, no less. Plus, there’s absolutely no fabric waste, making it both economical and environmentally friendly. This tutorial will guide you in creating a standard size pillowcase that fits both standard and queen size pillows, giving you versatility and convenience.
Ready to get started? Let’s dive into the materials you’ll need for this project.
Materials Needed
To create your own pillowcase, you’ll need the following materials:
- 1 yard of fabric
- Matching thread
- Cutting tools (scissors, rotary cutter, acrylic ruler, cutting mat)
- Sewing machine
- Sewing pins
- Ironing board with an iron
- Optional: Chopstick or point turner for pushing out corners
Now that you have your materials ready, let’s proceed to cutting the fabric.
Cutting the Fabric
Start by folding your yard of fabric and cutting off the selvages. If necessary, trim the ends. For a standard size pillowcase, the cutting dimensions are 21″ x 36″. If you want to make a queen or king size pillowcase, simply adjust the dimensions accordingly.
Once your fabric is cut, it’s time to move on to sewing the pillowcase body.
Sewing the Pillowcase Body
Fold the fabric right sides together to create a rectangle and pin along the top and one side edge. Sew with a 3/8 inch seam allowance, starting from the long edge near the opening and pivoting at the corners. Trim away any excess fabric and finish the raw edges with a zigzag stitch or a serger if desired.
Now that we have the body, let’s move on to creating the pillowcase cuff.
Creating the Pillowcase Cuff
Do not turn the pillowcase right side out. Instead, fold the top edge down by 5 inches and press. Then fold the cuff to the inside by 5 inches one more time. Sew along the top folded edge, about 3/8 inch from the edge, to create the faux cuff.
Now that the cuff is done, it’s time to turn and press the pillowcase.
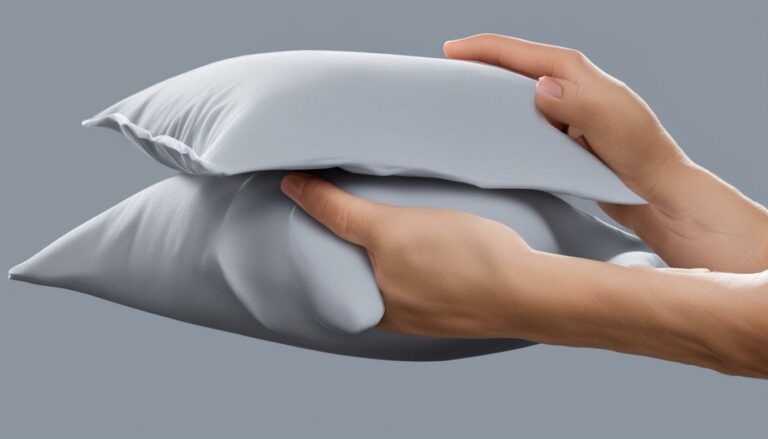
Turning and Pressing the Pillowcase
Turn the pillowcase right side out and use a chopstick or turning tool to push out the corners. Press the pillowcase flat, making sure to press the faux trim piece toward the opening of the case or away from it, depending on your preference.
If you want to make a pillowcase with any fabric, or learn how to sew a pillowcase with French seams, check out our additional instructions in the full tutorial.
Customizing Your Pillowcase
Feel free to customize your pillowcase by using different fabrics or adding embellishments such as embroidery, applique, or decorative trims. The provided pillowcase pattern is a basic template that can be easily adapted to suit your personal style and preferences.
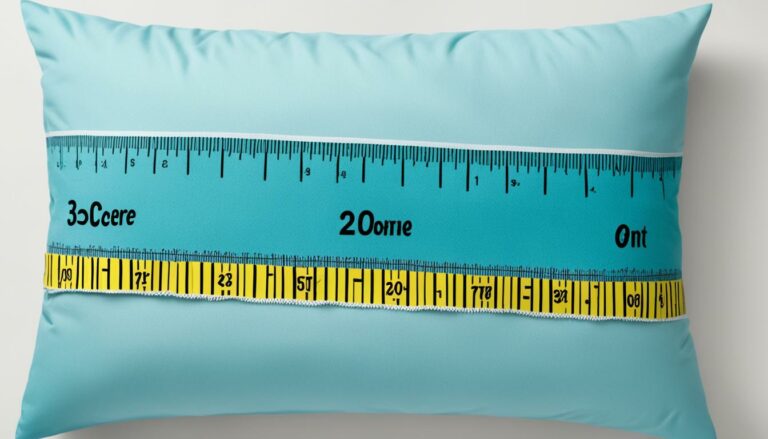
Pillowcase Dimensions
The free tutorial provides instructions for making a standard size pillowcase that measures 20″ x 30″. This size will fit both standard and queen size pillows. If you want to make a different size pillowcase, the dimensions can be adjusted accordingly.
Tips for Choosing Fabric
For the best results, we recommend using regular quilting cotton fabric, as it is durable and soft. However, you can also experiment with other fabric options such as knit, flannel, sateen, or satin. If you have extra fabric from a quilt or coordinating fabrics, this is a great opportunity to make matching pillowcases.
Final Thoughts
Creating your own pillowcase is a fun and satisfying project that allows you to showcase your creativity and add a personal touch to your bedroom decor. With our easy DIY tutorial and the option to customize fabrics and embellishments, you can make unique and personalized pillowcases for yourself or as thoughtful gifts. So grab your fabric, sewing machine, and start sewing your very own pillowcase today!
Key Takeaways
- Follow our easy DIY guide to sew a pillowcase with just one yard of fabric and no waste.
- The tutorial provides step-by-step instructions for creating a standard size pillowcase that fits both standard and queen size pillows.
- You’ll need basic sewing materials and a sewing machine to complete this project.
- Feel free to customize your pillowcase with different fabrics and embellishments.
- Choose fabric options such as quilting cotton, knit, flannel, sateen, or satin, based on your preferences.
Materials Needed
To create your own pillowcase, you will need the following materials:
- 1 yard of fabric
- Matching thread
- Cutting tools (scissors, rotary cutter, acrylic ruler, cutting mat)
- A sewing machine
- Sewing pins
- An ironing board with an iron
Optional tools that may be helpful include a chopstick or point turner for pushing out corners.
If you’re a beginner, don’t worry! This sewing project is perfect for beginners to get started with. And if you’re an experienced sewer, these homemade pillowcase ideas will inspire you to create beautiful and personalized pillowcases.
Now that you have all the necessary materials, let’s move on to the next step: cutting the fabric.
Cutting the Fabric
Now that you have your yard of fabric ready, it’s time to start cutting. Begin by folding the fabric in half, with the wrong sides together, so that the selvage edges are aligned.
Using a pair of fabric scissors, cut off the selvages on both sides of the folded fabric. This will ensure a clean and even edge for your pillowcase.
If the ends of your fabric are uneven, trim them to create straight edges. This will make it easier to sew and maintain a professional finish.
For a standard size pillowcase, the cutting dimensions are 21″ x 36″. These measurements will create a perfectly fitting pillowcase. However, if you’re making a queen or king size pillowcase, adjust the dimensions accordingly to suit your needs.
Follow this simple cutting guide to ensure your pillowcase comes out just right:
- Fold the fabric in half, wrong sides together, aligning the selvage edges.
- Cut off the selvages on both sides of the folded fabric.
- If necessary, trim the ends of the fabric to create straight edges.
- For a standard size pillowcase, cut the fabric to 21″ x 36″.
- If making a queen or king size pillowcase, adjust the dimensions accordingly.
Once you’ve cut the fabric to the correct dimensions, you’re ready to move on to the next step of sewing your pillowcase. But before that, take a moment to admire the beautiful fabric you’ve chosen!

Note: The image above showcases a beautiful pillowcase created using the free pillowcase pattern. Feel free to get creative with your fabric choice and design your own unique pillowcase.
Sewing the Pillowcase Body
Now that you have your fabric prepared, it’s time to sew the main body of the pillowcase. Just follow these step-by-step instructions to create a beautiful pillowcase:
- Fold the fabric right sides together, creating a rectangle.
- Pin along the top edge and one side edge to keep the fabric in place.
- Using a 3/8 inch seam allowance, start sewing from the long edge near the opening and pivot at the corners.
- Trim away any excess fabric to ensure a clean finish.
- If desired, finish the raw edges with a zigzag stitch or a serger to prevent fraying.
This straightforward process will give you a neat and professional-looking pillowcase. Check out the image below for a visual representation of the steps:

With the main body of your pillowcase complete, it’s time to move on to the next step: creating the pillowcase cuff. But first, let’s take a closer look at what you’ve accomplished so far:
| Benefits | Easy DIY pillowcase |
|---|---|
| Fabric Waste | Zero |
| Seam Allowance | 3/8 inch |
| Finish | Zigzag stitch or serger (optional) |
By following these step-by-step instructions, you’ve created a pillowcase without any fabric waste. The 3/8 inch seam allowance ensures a sturdy construction, while the optional zigzag stitch or serger gives a clean finish to the raw edges. Now you’re ready to move forward and add the finishing touch to your pillowcase!
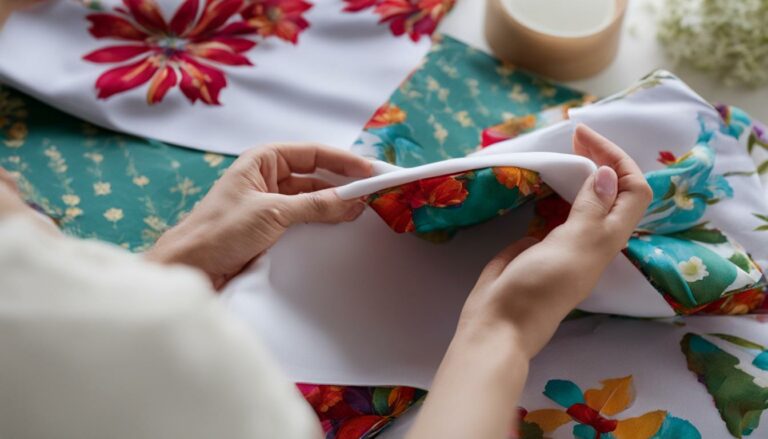
Creating the Pillowcase Cuff
In this step of the easy pillowcase tutorial, you will learn how to create a beautiful cuff for your pillowcase. The cuff adds a decorative touch to the design and gives the pillowcase a polished look. Follow the simple instructions below to create the perfect cuff for your sewing project.
Folding the Top Edge
Start by folding the top edge of the pillowcase fabric down by 5 inches. Take your time to ensure the fold is straight and even across the entire width of the fabric. Once folded, press the fold with a hot iron to create a crisp crease.

Folding the Cuff
Next, fold the cuff to the inside by 5 inches once more. This will enclose the raw edge of the fabric and create a clean finish for the cuff. Again, use an iron to press the fold and make it as neat as possible.
Sewing the Faux Cuff
With the cuff folded, it’s time to secure it in place. Sew along the top folded edge of the cuff, about 3/8 inch from the edge. This will create a faux cuff that adds a decorative element to the pillowcase. Use a straight stitch and backstitch at the beginning and end of the seam for added durability.
Once you’ve finished sewing the top edge, trim any excess threads and admire your beautifully crafted pillowcase cuff!
| Materials | Tools |
|---|---|
|
|
Turning and Pressing the Pillowcase
Now that you have sewn your pillowcase and created the faux cuff, it’s time to turn it right side out and give it a polished finish. Follow these steps to complete your homemade pillowcase:
Step 1: Carefully turn the pillowcase right side out, so that the seams are hidden on the inside. Use a chopstick or a turning tool to push out the corners and create crisp edges. This will give your pillowcase a professional look.
Step 2: Once you have turned the pillowcase, it’s time to press it flat. Set up your ironing board and iron to the appropriate heat setting for the fabric you are using. Make sure to press the pillowcase gently to avoid any wrinkles or creases.
Step 3: When pressing the pillowcase, pay attention to the faux trim piece. You can press it toward the opening of the case or away from it, depending on your preference and the style you want to achieve. Pressing it towards the opening will create a neat, finished look, while pressing it away from the opening will give it a more relaxed and casual appearance.

With the final touches of turning and pressing, your homemade pillowcase is now complete. The crisp edges and well-pressed fabric will make your pillowcase look beautiful and professional. Now you can enjoy the satisfaction of making your own unique and personalized pillowcases!
Making a Pillowcase with Any Fabric
If you want to make a pillowcase with any fabric, the process is similar. Follow these steps:
- Cut two identical pieces of fabric based on the desired pillowcase size.
- Fold, iron, and pin along one side of each fabric piece to create the faux cuff.
- Sew a seam along the pinned side of each fabric piece to secure the cuff.
- Pin the fabric pieces together, right sides facing each other.
- Sew along the three remaining sides, leaving the cuff open.
- Trim any excess fabric and clip the corners for a clean finish.
- Turn the pillowcase right side out.
- Press the pillowcase to remove any wrinkles and to make the faux cuff crisp.
Now, your custom pillowcase is ready to use or give as a thoughtful gift!
Adding a personal touch to your pillowcases can make them even more special. Consider embellishing with embroidery, applique, or decorative trims for a unique look.
Sewing a Pillowcase with French Seams
If you’re looking for a decorative and polished finish for your pillowcase, consider sewing it with French seams. This technique provides a clean and professional look by enclosing the raw edges within the seams. Follow these step-by-step pillowcase instructions to create a pillowcase with French seams:
-
Step 1: Cut and Prepare the Fabric
Begin by cutting your fabric according to the dimensions provided in the standard pillowcase tutorial. Remember to add an extra 1 inch for the French seams. Once your fabric is cut, fold it in half with the right sides together.
-
Step 2: Sew the Side and Bottom Seams
Using a 1/2 inch seam allowance, sew the side and bottom seams of the pillowcase. This initial seam will enclose the raw edges within the seam allowance.
-
Step 3: Trim and Press the Seams
Trim the seam allowance to 1/4 inch to reduce bulk. Then press the seams flat to one side, ensuring the raw edges are completely enclosed.
-
Step 4: Sew the Final Seams
Now, fold the fabric along the side and bottom seams, enclosing the raw edges within the seam. This will create a clean finish on the inside of the pillowcase. Using a 1/2 inch seam allowance, sew the side and bottom seams again.
-
Step 5: Trim and Press the Final Seams
Trim the final seam allowance to 1/4 inch and press the seams one more time. This will ensure that the raw edges are fully enclosed within the seams, giving your pillowcase a neat appearance.
By following these steps, you can create a pillowcase with French seams that looks both elegant and professional. The enclosed raw edges will prevent fraying and add durability to your pillowcase.
For a visual reference, here is an image showcasing the steps involved in sewing a pillowcase with French seams:
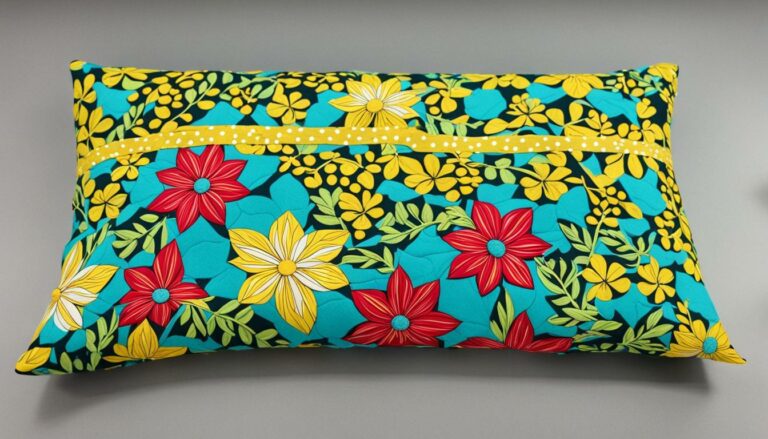
Customizing Your Pillowcase
Make your pillowcase truly unique by customizing it to reflect your personal style. The provided pillowcase pattern serves as a basic template that can be easily adapted to suit your preferences. With just a few creative touches, you can transform a simple pillowcase into a one-of-a-kind masterpiece.
Here are some easy ways to customize your pillowcase:
- Choose different fabrics: Experiment with various types of fabrics, such as cotton, silk, or flannel, to achieve different textures and looks. Select fabrics with vibrant patterns or bold colors to make a statement.
- Add embellishments: Embroidery, applique, and decorative trims can instantly elevate the appearance of your pillowcase. Consider adding a monogram, your favorite quote, or a delicate lace trim to give it a personalized touch.
- Experiment with color combinations: Mix and match different fabric colors to create interesting contrasts or harmonious blends. Play around with complementary or contrasting shades to achieve the desired visual impact.
By customizing your pillowcase, you can infuse it with your own sense of style and creativity. Whether you want to create a chic and elegant pillowcase or a whimsical and playful one, the possibilities are endless.
“Customizing your pillowcase allows you to express your individuality and create a unique piece that reflects your personal taste.” – Emily Thompson, Sewing Enthusiast
Get inspired by the image above, showing a beautifully customized pillowcase. Notice how the combination of different fabrics and added embellishments adds personality and charm to the pillowcase.
Pillowcase Dimensions
The free tutorial provides instructions for making a standard size pillowcase that measures 20″ x 30″. This size will fit both standard and queen size pillows. If you want to make a different size pillowcase, the dimensions can be adjusted accordingly.
| Pillow Size | Dimensions |
|---|---|
| Standard | 20″ x 30″ |
| Queen | 20″ x 30″ |
| King | 20″ x 36″ |
The pillowcase dimensions provided in the tutorial are based on standard pillow sizes. However, if you have a different size pillow or want to make a custom-sized pillowcase, you can easily adjust the dimensions to fit your needs. Simply measure your pillow and add a few inches for seam allowance and ease of fitting.
Creating a perfectly fitting pillowcase is important to ensure a snug and comfortable fit for your pillows. By adjusting the dimensions, you can make a pillowcase that fits your pillow perfectly, whether it’s a standard, queen, or king size.
Tips for Choosing Fabric
When it comes to making your own pillowcase, choosing the right fabric is key. While the tutorial recommends using regular quilting cotton fabric for its durability and softness, there are other fabric options that can work just as well. Consider using knit fabric for a stretchy and cozy pillowcase, or flannel for added warmth during the colder months. If you want a luxurious feel, sateen or satin fabric can provide a touch of elegance to your pillowcase.
For beginners, it’s best to start with cotton fabric as it is easier to work with and offers a wide variety of prints and colors to choose from. However, if you have extra fabric from a quilt project or coordinating fabrics that you love, this is a great opportunity to make matching pillowcases and create a cohesive look for your bedroom.
Benefits of Quilting Cotton Fabric:
- Durable and long-lasting
- Soft and comfortable
- Wide variety of prints and colors
- Easy to work with for beginners
Other Fabric Options:
- Knit fabric – provides stretch and coziness.
- Flannel – perfect for added warmth during colder months.
- Sateen or satin – adds a touch of elegance to your pillowcase.
“Choosing the right fabric for your pillowcase is essential for both comfort and style. Consider the feel, durability, and design options when selecting the perfect fabric for your sewing project.” – Emma Smith, Sewing Expert
By selecting the fabric that suits your preferences and needs, you can create a pillowcase that not only looks great but also feels comfortable when you rest your head on it. Experiment with different fabrics to find your favorite and enjoy the process of making personalized pillowcases for yourself or as thoughtful gifts for loved ones.
Final Thoughts
Whether you’re a beginner or an experienced sewer, creating your own pillowcase can be a fun and satisfying project. With the easy pillowcase tutorial and the option to customize fabrics and embellishments, you can make unique and personalized pillowcases for yourself or as gifts. So grab your fabric, sewing machine, and start sewing your very own pillowcase today!
FAQ
Can beginners sew this pillowcase pattern?
Absolutely! This easy pillowcase tutorial is perfect for sewing beginners.
How much fabric do I need for this pillowcase?
You will need exactly 1 yard of fabric.
Is there any fabric waste in this pattern?
No, there is no fabric waste in this pattern. It’s designed to be efficient and use every inch of fabric.
What are the dimensions of the pillowcase?
The dimensions for a standard size pillowcase are 20″ x 30″.
Can I customize the pillowcase with different fabrics or embellishments?
Absolutely! Feel free to use different fabrics or add embellishments to personalize your pillowcase.
Can I make a pillowcase with any fabric?
Yes, you can make a pillowcase with any fabric. Simply cut two identical pieces based on the desired size, sew them together, and flip the pillowcase right side out.
Can I sew a pillowcase with French seams?
Yes! You can sew a pillowcase with French seams for a clean and finished look on the inside. Follow the same steps as the standard pillowcase tutorial, but sew with a 1/2 inch seam allowance and trim the seam allowance to 1/4 inch before sewing again to encase the raw edges.
What size pillow will this pillowcase fit?
This pillowcase pattern is designed to fit both standard and queen size pillows.
What type of fabric should I use?
The tutorial recommends using regular quilting cotton fabric for durability and softness. However, other fabric options such as knit, flannel, sateen, or satin can also be used.
Can I make matching pillowcases with extra fabric?
Yes, if you have extra fabric from a quilt or coordinating fabrics, this is a great opportunity to make matching pillowcases.
Eric Christie stands as a luminary in the bedding industry, with a career spanning nearly four decades since the early 1980s. His journey through the world of bedding has seen him wear many hats – a manufacturer, designer, and retailer, showcasing his versatility and expertise in Read more...